Reference: HD Pro Guide Magazine, 2015. Vol. 3. No. 1. Are You Using All Your Crayons? A look at 8-bit and 10-bit color and using Colorista 2 for color correction and grading. by Al Caudullo. Pages 8 & 9.
Many shooters and even editors out there have misconceptions about 8-bit and 10-bit color.
Ever since the first cathode ray televisions in the early 1900s, we have always wanted bigger and better. From black-and-white to color. From CRTs to LCDs and OLEDs. From standard definition to high definition to ultra high definition. The supreme game of making a bigger, better television still goes on. As content creators, our goal is to create good story with a healthy dollop of the latest technology. And the technology is ever-changing. Not only do we have color sampling bit depth but we also have different bit rates, codecs, algorithms, wrappers, compression types, sensor sizes, 4:2:0, 4:2:2, 4:4:4 and even 4:4:4:4.
But to keep us from going totally mad, we are just going to talk about the basics of 8-bit and 10 bit color sampling and how to achieve the best image.
Is 10-bit color sampling really better than 8-bit?
The answer is not as simple as it may appear.
On the surface in the most basic sense, 8-bit color sampling means that for a single pixel there are eight bits of color for red, blue, and green. So doing the math, that means 256 shades of red, 256 shades of blue, and 256 shades of green. Now that sounds pretty impressive. Except that when you move it to 10 bit color, the math expands quite a bit. With 10 bit color, you get 1024 shades of red, 1024 shades of blue, and 1024 shades of green.
So clearly, it must be better to have 10 bit color rather than 8-bit color, right? That answer is not so simple. First let’s look at the end goal. What type of device are you playing your video back on?
Is this for professional broadcast? Is this for home use? Is this for the Web? Next what kind of camera are you using? How is it recording?
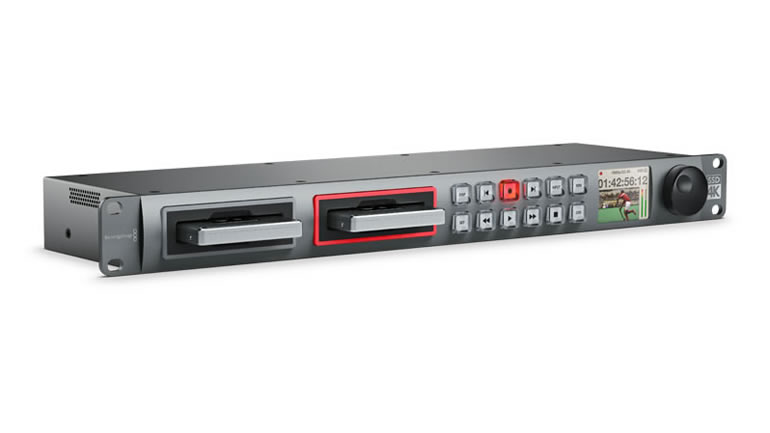
Most basic home video recorders only use 8-bit recording systems. Getting into prosumer and professional products, you usually have a choice between 8-bit or 10-bit.
Broadcast standards call for 10 bit color sampling. But depending upon the material and the quality, 8-bit color can be accepted. As with most things in life, there’s always the exception to the rule.
There’s one more factor to keep in mind. What are you shooting? It has to have enough color range to make the difference visible. Skies are a perfect example. If you only have 8-bit, and you have a beautiful blue sky, then most times, you’re going to wind up with what we call banding. That’s when there aren’t enough colors in your crayon box to give you a smooth transition from one shade of blue to the other side of the blue color range.
And let me tell you, forget about trying to look at these videos that try to illustrate this on the web. In general, the web is the lowest form of quality. Compression on the web makes a total mess of everything.
For what I do, supplying TV shows to broadcast networks and now streaming services, I need to supply them with 10 bit color. In order to do that I need to color correct and color grade my productions. My tool of choice is Red Giant Colorista 2. And, yes, there is a difference between color correction and color grading. Color correction repairs problems from when you shot originally adjusting the colors and luma to the proper levels. Color grading is giving a particular color “look” to invoke a sense of the story. You must always color correct, but you don’t have to color grade. That is a creative choice.
Colorista 2 is not only one of the most powerful tools for color correction but also offers unprecedented latitude for color grading. With Primary Correction, Secondary Correction and Master Correction stages you can do just about anything with your image. Add to that the always available Power Mask for each stage and you have a tool to work with color like no other.
The first thing that you see is the primary stage. The primary exposure allows you to adjust your brightness overall in the image. Next up is the primary density it’s very similar to a gamma correction. Highlight Recovery helps you correct highlight areas that are blown out by overexposure.
I’m sure by now you’re familiar with 3-Way color correctors but this is a 3-Way color corrector some big differences. In this Primary Stage the three-way color corrector gives you color wheels to adjust shadows, midtones and highlights. Each wheel has individual controls but let you adjust hue, saturation and luminance within each of these ranges.
I always start with adjusting the midtones. I want them to fall between 30-70 percent, in general, on my Waveform display.
By adjusting the midtones first you will also pull the lows and or highs to some extent.
Next, I make my adjustments to the lows. Optimally, you want a good solid black without losing detail. On the Waveform display a range of 0-30 is best.
Finally, the highs should occupy the 70-100 zone of the Waveform without clipping. Clipping the Whites occur when you look at the waveform and instead of nice peaks you have a flat line.
If this happens the result will be white parts of the image that are either too bright or have no real definition, just a blob of white smearing across the area of the image.
If this happens Colorista 2 has a fantastic tool to help you. It is called the Highlight Recovery tool.
By adjusting this you can restore some of those flat line areas with peaks, the way that they should be.
In addition you find a unique HSL corrector. HSL stands for Hue, Saturation and Luminance.
This tool is amazingly powerful. This is where grading comes in.
The wheel on the left controls saturation, while the other wheel controls brightness. Circled around the edges are various stops of color which represent the different hue. If you put one of those colored dots outward away from the center on the left wheel you will increase the saturation of that particular hue of color. With the other wheel bringing the dot in or out will adjust the brightness of that particular hue of color. But wait there’s more, if you take the dot and start sliding in towards its neighbor the color will take on the characteristics of the color you’re pushing towards. Reds can become orange or going the opposite way to violet.
This is an amazingly powerful tool for changing selected colors in the scene.
The secondary stage is just as powerful as the first with one difference. You can add a secondary power mask and even a secondary here to go ahead and concentrate your changes just in the mast or keyed areas. In the secondary stage is like a sharpening tool you can bring out the detail from your image when you slighted towards the right side or the positive area you can also soften things by sliding into the left.
Lastly, you have the master stage. The master stage also contains exposure, density, and mix controls. You even have an additional HSL controller to fine-tune Settings even more. The extra goodie here are the Curves.
In this stage you get RGB curves plus curves to adjust the red green and blue colors individually. But wait there’s more! In addition to that you get another Power Mask. Talk about taking fine-tuning your picture down to a fine art.
Additionally you have a Show Skin Overlay checkbox. With this box checked it helps you achieve proper skin tones. And overlay grid pattern shows up over the skin tone. This grid increases the more you correct your footage.
So now that you understand the difference between 8-bit and 10-bit color sampling, are you ready for 4095 shades of red, blue and green in 12-bit color?